Improving File Server Performance in Windows Server 2012

As file servers become more heavily utilized, performance can quickly drop off — even when solid-state disks (SSDs) and fast SCSI interfaces are used. But with a couple of configuration tweaks in Windows Server 2012, file servers can be sped up when the going gets tough.
Switch the Power Plan to High Performance
If you have a consistently high load on your file servers, consider switching the server’s power plan to High Performance. This will ensure that the CPUs are always clocked at 100 percent and that no processor cores are parked. Keeping the CPU at full power improves disk input-output when there is a constant and heavy load.
Configure the power plan using Group Policy or using local machine policy for servers not joined to a domain, as power settings have a habit of resetting after Windows patches and hotfixes are applied.
To set the power plan using local machine policy, log on to your server as a local administrator:
- Switch to the Start screen, type mmc and then select mmc from the search results to open a Microsoft Management Console.
- In the console window, select Add/Remove Snap-in… from the File menu.
- In the Add or Remove Snap-Ins window, select Group Policy Object Editor under Available snap-ins and click Add.
- In the Select Group Policy Object dialog, leave Local Computer as the Group Policy Object and click Finish.
- Click OK in the Add or Remove Snap-Ins window.
- In the left pane of the console window, expand Local Computer Policy, Computer Configuration, Administrative Templates, System and click Power Management.
- In the central pane, double-click Specify an active power plan.
- In the Select an active power plan dialog, check Enabled, select High Performance from the drop-down menu beneath Active Power Plan, and click OK.
- Close the console window.
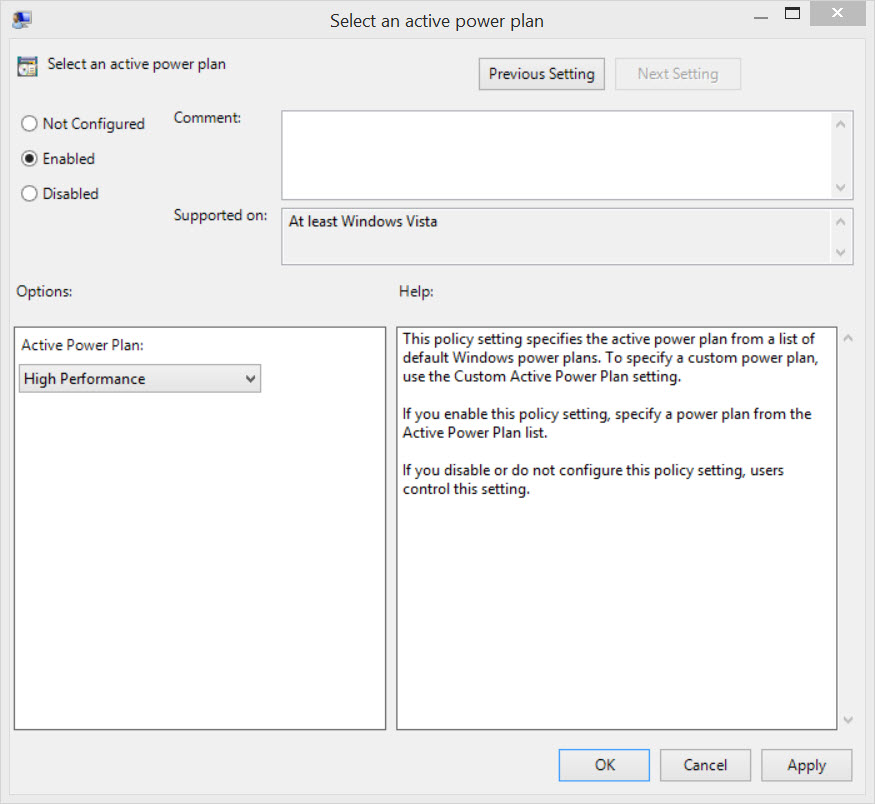
Figure 1
The next time policy refreshes, the High Performance power plan will be applied to the server.
Disable and Strip Short File Names
DOS 8.3 short file names still exist in Windows Server for backward compatibility and are disabled in Windows Server 2012 on newly formatted volumes, but they may remain enabled on volumes if the server was upgraded from a previous version of Windows.
The chances are you’re unlikely to need 8.3 short file name compatibility on a file server today, so this feature can be disabled to improve performance. Directory enumeration can be up to 10 times faster when files are stripped of their 8.3 names, and file creation almost 60 times faster.
To check the status of 8.3 file names on your server, log on with a local administrator account:
- Open a command prompt from the Start screen or using the PowerShell icon on the desktop taskbar.
- In the command prompt window, type fsutil 8dot3name query d: and press ENTER, replacing d: with the volume you want to query.
The results will show you the volume state, whether 8.3 name creation is enabled or disabled, and the registry state. In the screen shot below, you can see that 8.3 name creation is disabled for both d: and g: volumes. They get their configuration from the registry state, which is set to allow each volume to have its own individual settings for 8.3 name creation.
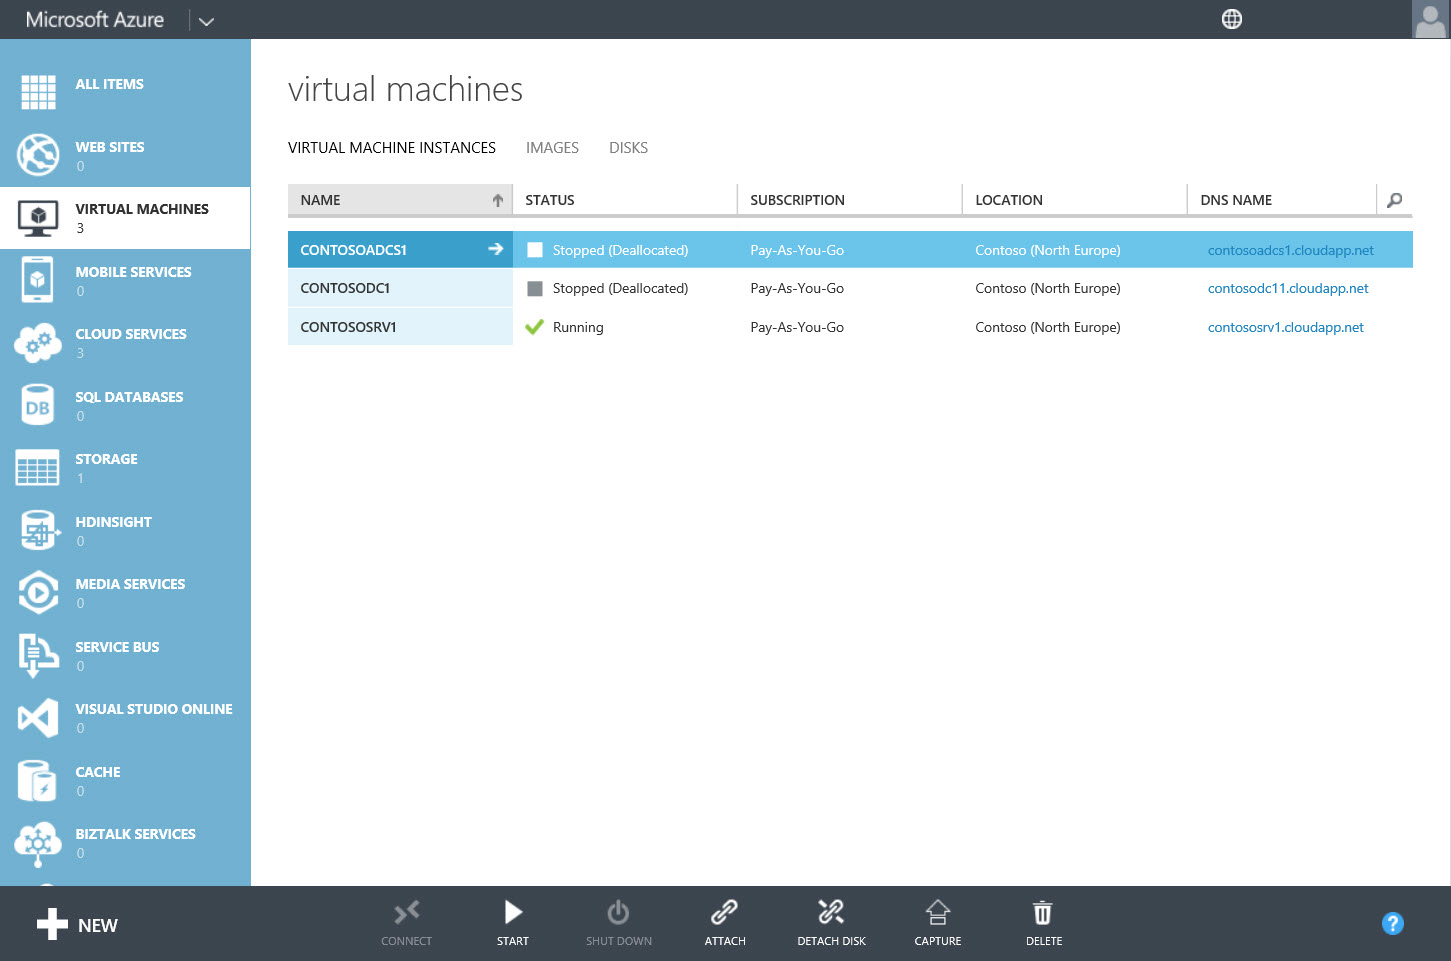
Figure 2
- To disable 8.3 name creation on the d: volume, type fsutil 8dot3name set d: 1 and press ENTER.
- To strip existing files of their 8.3 names to improve performance on d:, type fsutil 8.3 name strip /s /v d: and press ENTER. The /s switch instructs fsutil to scan the registry for references to files that might cause a problem if their 8.3 names are removed. The /v switch delivers verbose output.
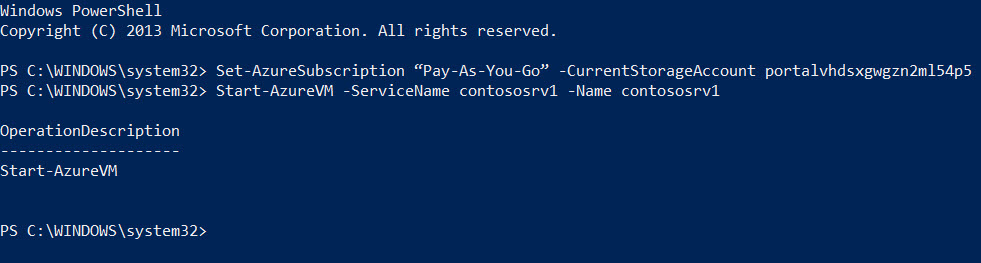
Figure 3